

Preparing your venue for install day
A smooth install starts before the crew unloads the first crate. If access is confirmed, the floor is clear and power points are easy to reach, the two-day install runs faster and with less disruption to your venue.
Start with access and arrival planning
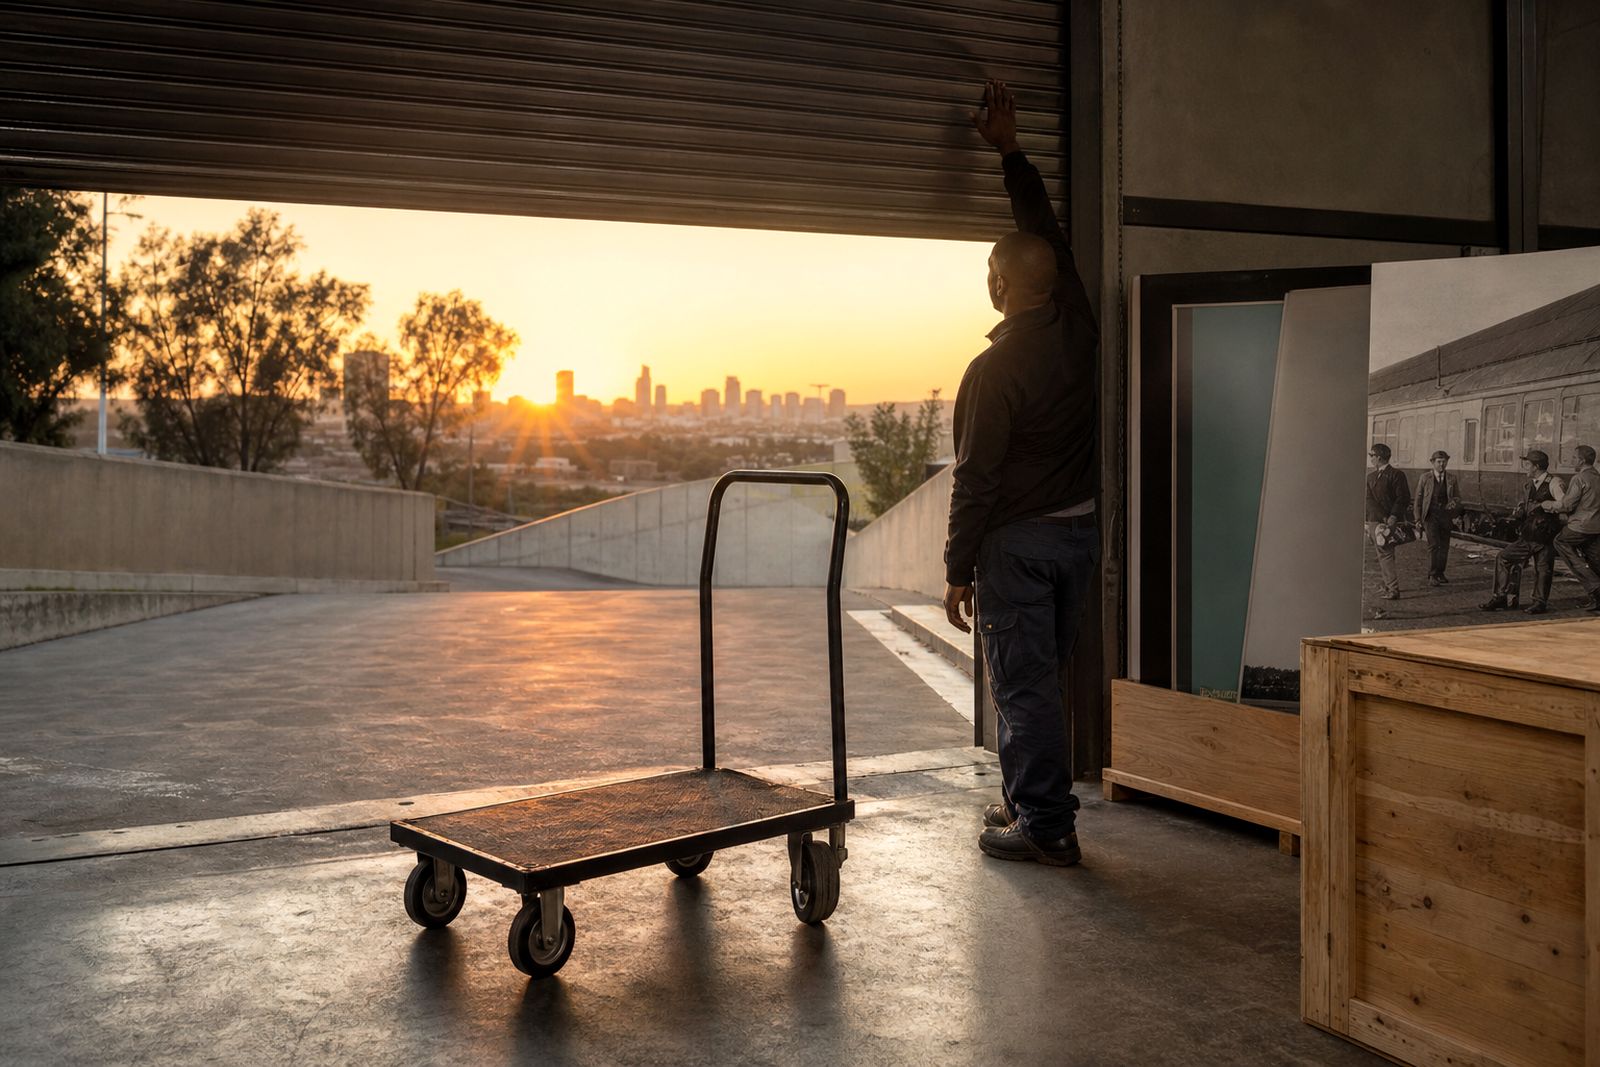
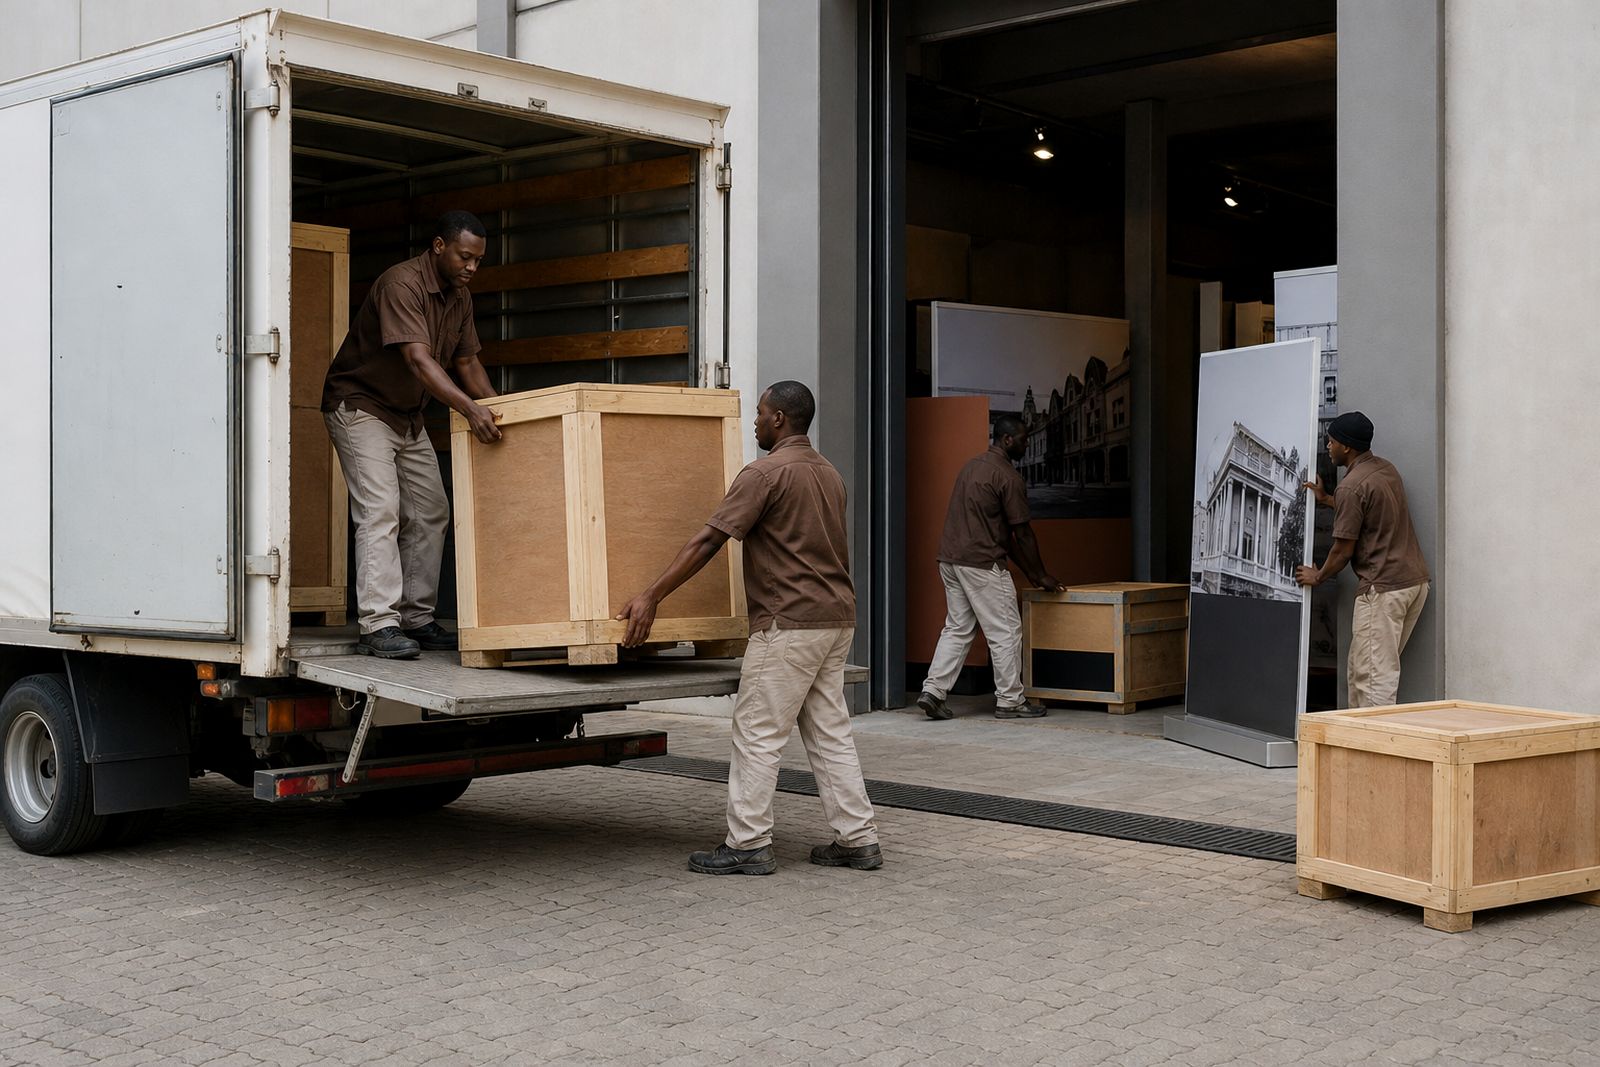
Before install day, confirm exactly how the crew and vehicle will enter the site. This matters at shopping centres with loading bays, at libraries with limited back-of-house space, and at museums where public access routes may not be suitable for crates and plinths. Our team works from Johannesburg and tours nationally, so a short access note from the venue helps avoid delays when the crew arrives.
Please confirm the arrival point, the security procedure and the closest unloading area to the exhibition floor. If there is a goods lift, let us know the lift opening size and whether there are booking times. If there are stairs, ramps, narrow passages or strict delivery windows, we need that upfront. It helps alot when the venue shares simple site photos of the path from vehicle to floor.
- Name the gate, loading bay or entrance the crew must use.
- Confirm whether security needs ID numbers, vehicle details or a delivery reference.
- Advise if access is only allowed before opening time or after trading hours.
- Measure narrow doors, lift openings and low ceiling points on the route.
- Keep the path clear of bins, trolleys, promo units and stacked furniture.
Clear the floor before the crew arrives
The exhibition area should be empty and ready for layout when the crew reaches site. Freestanding panels and display plinths need clean, level floor space so the team can position everything accurately from the start. If the venue is still moving furniture, removing old displays or cleaning around tenants, install time is lost very quickly.
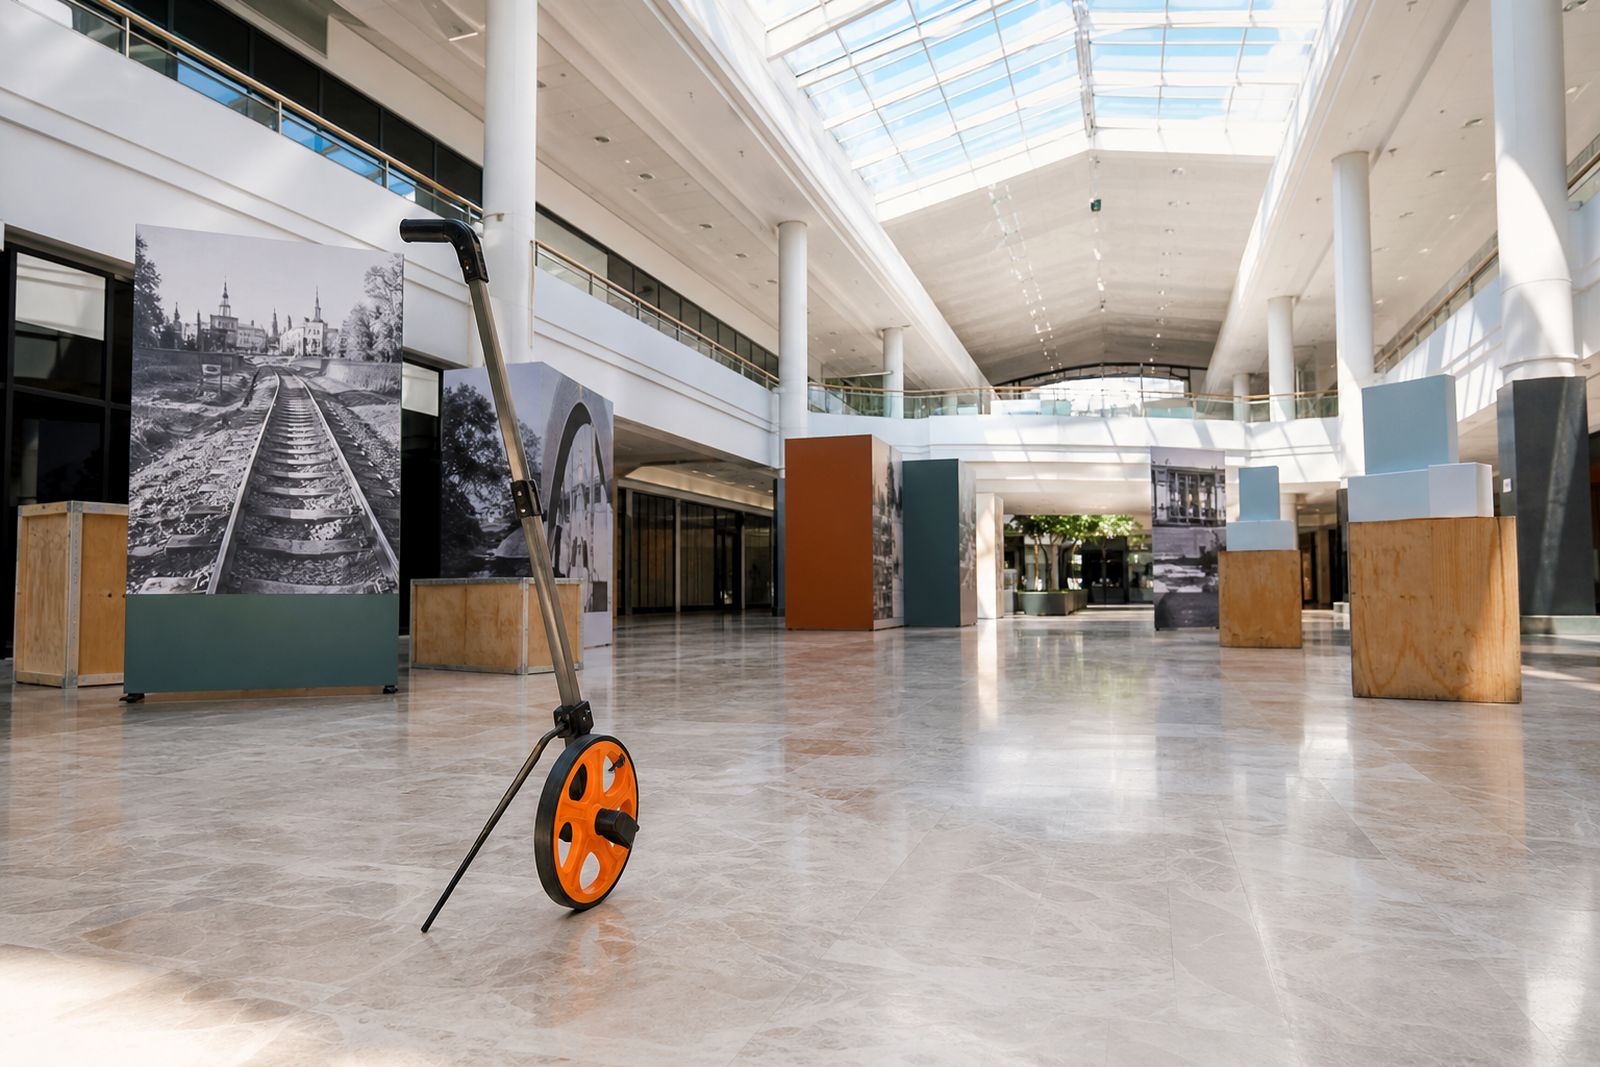
Please remove loose tables, queue barriers, brochure stands, pot plants and any temporary branding from the marked area before arrival. In libraries and museums, also check for movable shelving, donor boards, reading benches or portable screens that may sit inside the agreed footprint. In malls, allow enough circulation around the exhibition so walkways stay open and nearby stores are not blocked.
If you are unsure about the right footprint, refer to the agreed floor plan and mark the corners with low tack tape the day before. That small step makes the first morning much easier for the install crew and venue contact.
- Vacuum or sweep the exhibition area before unloading begins.
- Remove all venue furniture from the final display zone.
- Mark the agreed footprint on the floor if possible.
- Keep emergency exits, fire equipment and public walkways open.
- Advise us in advance about uneven tiles, floor outlets or soft surfaces.
Check power points and basic services
Most of our travelling shows are designed to install cleanly with freestanding elements, but the venue should still confirm nearby power points and basic site services. The crew may need power for tools during set-up, and some venues prefer nearby supply points available for temporary work lights or general install use. Please point out the nearest working sockets before unloading starts.
In older libraries and some museum buildings, sockets can be limited or placed behind joinery. In malls, floor boxes may sit under promotional units or seating. If your venue experiences frequent power cuts, tell us beforehand so the crew can plan the order of work around available daylight and access windows.
A venue representative should also confirm where the nearest bathrooms, refuse area and cleaning support can be found. Those details sound small, but they keep the install moving and help the crew finish within the planned two-day period.
- Identify at least one working power point close to the exhibition area.
- Advise if adapters, long leads or access keys are needed for sockets.
- Confirm whether power is switched off after hours in the install zone.
- Point out bathrooms, cleaning stores and the refuse holding area.
- Let us know if there are scheduled power interruptions at the venue.
Prepare for venue rules and public safety
Each venue has its own operating rules, and it helps when these are shared before the truck is booked in. Some malls restrict trolley movement during peak trade. Some libraries limit noisy work to certain hours. Some museums require protective floor covering in sensitive galleries or stricter supervision near collection areas. If we know the rules early, the crew can work within them without slowing the job down.
Please also brief us on any municipal or centre management requirements that affect temporary displays. This can include keeping a minimum walkway width, protecting hydrants and extinguishers, or ensuring signage does not obstruct directional routes. Freestanding panels and plinths must sit safely within the approved area with enough space for visitors to move comfortably.
The venue contact on duty should be available to answer practical questions on the day. A five minute decision about access, cleaning or public flow can save an hour later.
Assign one venue contact for the full install
The easiest installs happen when one person is responsible for opening access points, confirming the floor area and signing off the final layout. That contact does not need to stay beside the crew all day, but they should be reachable from arrival to handover. In busy malls and public institutions, instructions can change between security, maintenance and operations unless one venue lead ties it together.
The venue contact should know who controls keys, loading access, lift bookings and after-hours permissions. They should also be able to confirm where any temporary materials, packing waste or removed venue furniture must go. If there is a change in trading activity, school groups, public programming or another event nearby, please tell the contact to raise it early.
- Choose one main venue contact and one backup.
- Make sure both contacts know the install dates and arrival time.
- Give them authority to confirm floor position and access decisions.
- Ask security and maintenance to expect the exhibition crew.
- Keep handover notes ready for the end of day two.
Final check the day before installation
A short walk-through on the day before install is often enough to catch the common problems. Check that the floor is still clear, that no marketing unit or reading table has crept back into the area, and that the agreed route from vehicle to venue is open. Confirm again with security or centre management if special access applies before opening hours.
If your building is near the coast, watch for humidity and wind on entrances if any crates need to pause near a doorway. In inland venues, make sure dust from maintenance work has not settled across the floor. A clean site helps protect exhibition finishes and makes the venue look ready from the start.
Once these basics are covered, the crew can get on with crating, placement and installation efficiently, then leave the venue clean at handover. Good preparation does not need a long meeting, just a practical check list and a clear floor.
What our Exhibition customers say
Verified Google reviews
Questions we get asked
How much space should we leave around the exhibition?
Leave enough room for visitors to move comfortably around panels and plinths without blocking exits, shopfronts or reading areas. If you are unsure, use the agreed layout and keep extra circulation clear around the outer edge.
Does the venue need to provide tools or equipment?
No, the crew arrives with the equipment needed for the install. The venue mainly needs to provide access, a clear floor, nearby working power points and a contact person who can assist with site decisions.
What if our access times change at short notice?
Tell us as soon as possible through the enquiry form on the contact page. Even a small change to loading bay times, lift bookings or after-hours access can affect the install sequence.
Also worth a look
Book a travelling exhibition
Send a note through our contact form with your venue, the floor space and the dates you have in mind, and our curator will contact you.
Open the contact form